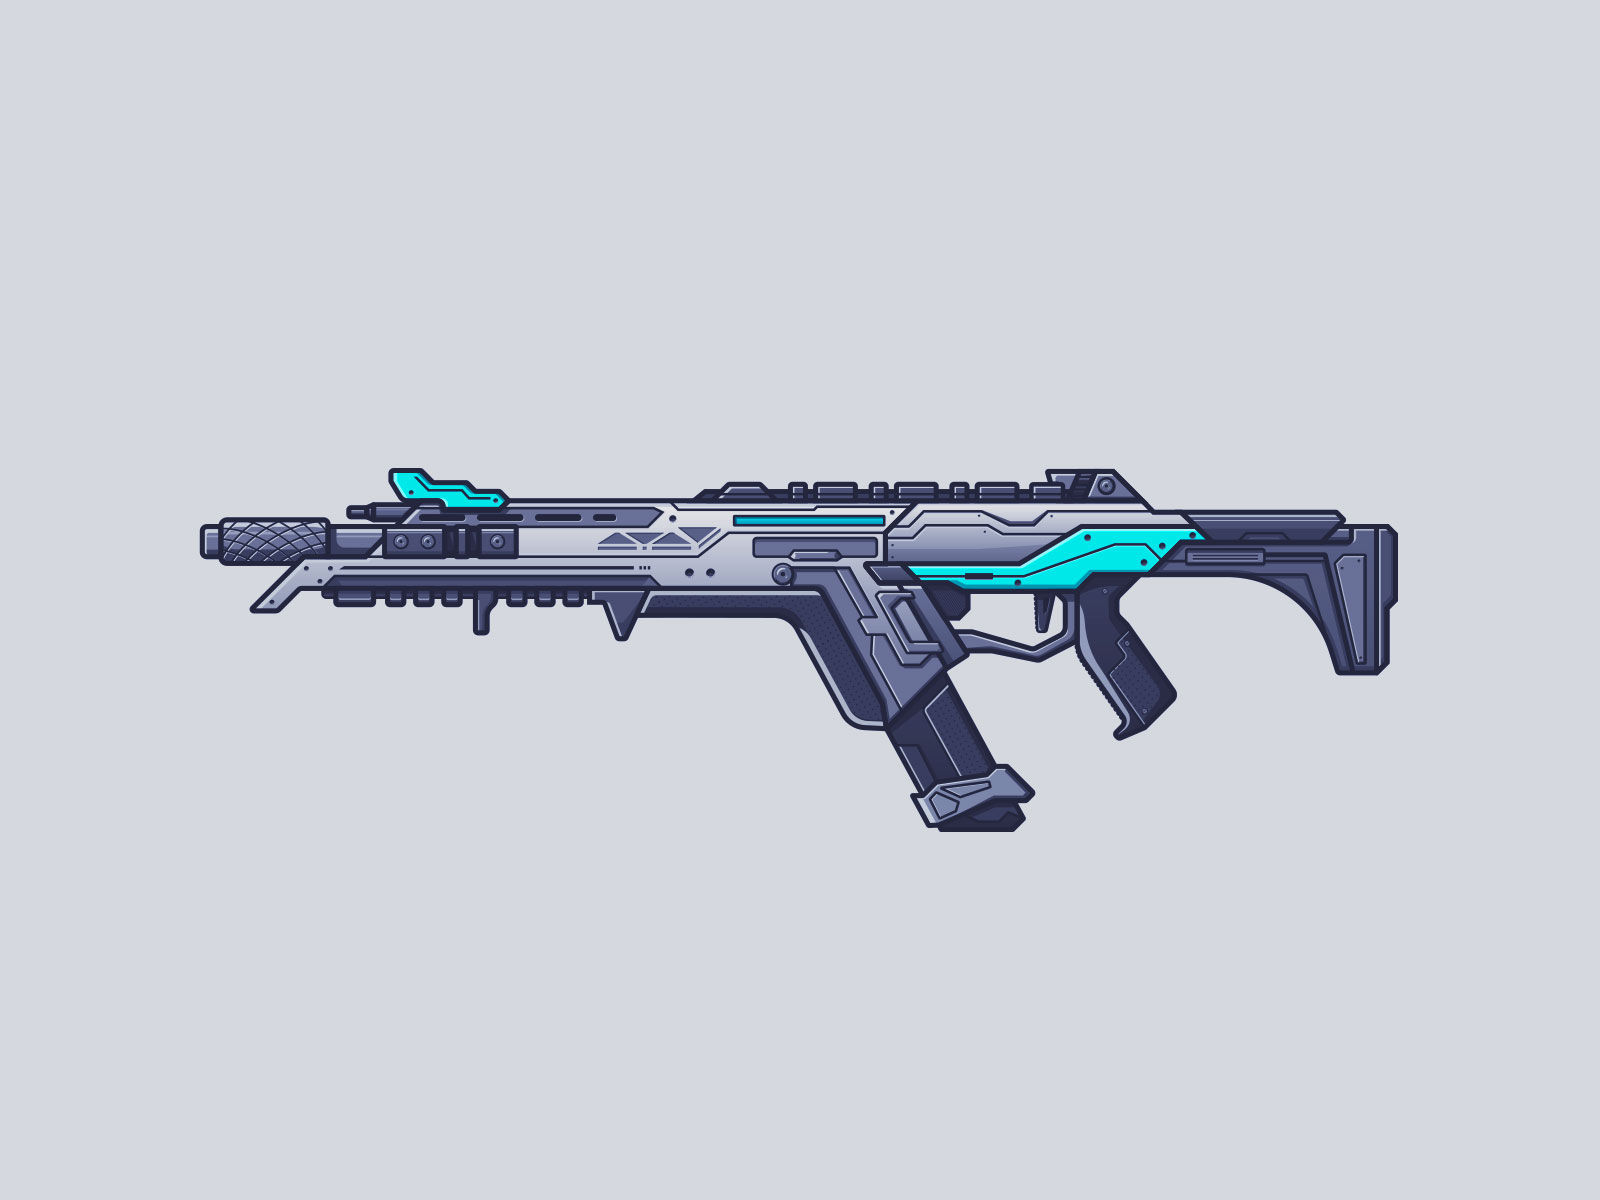
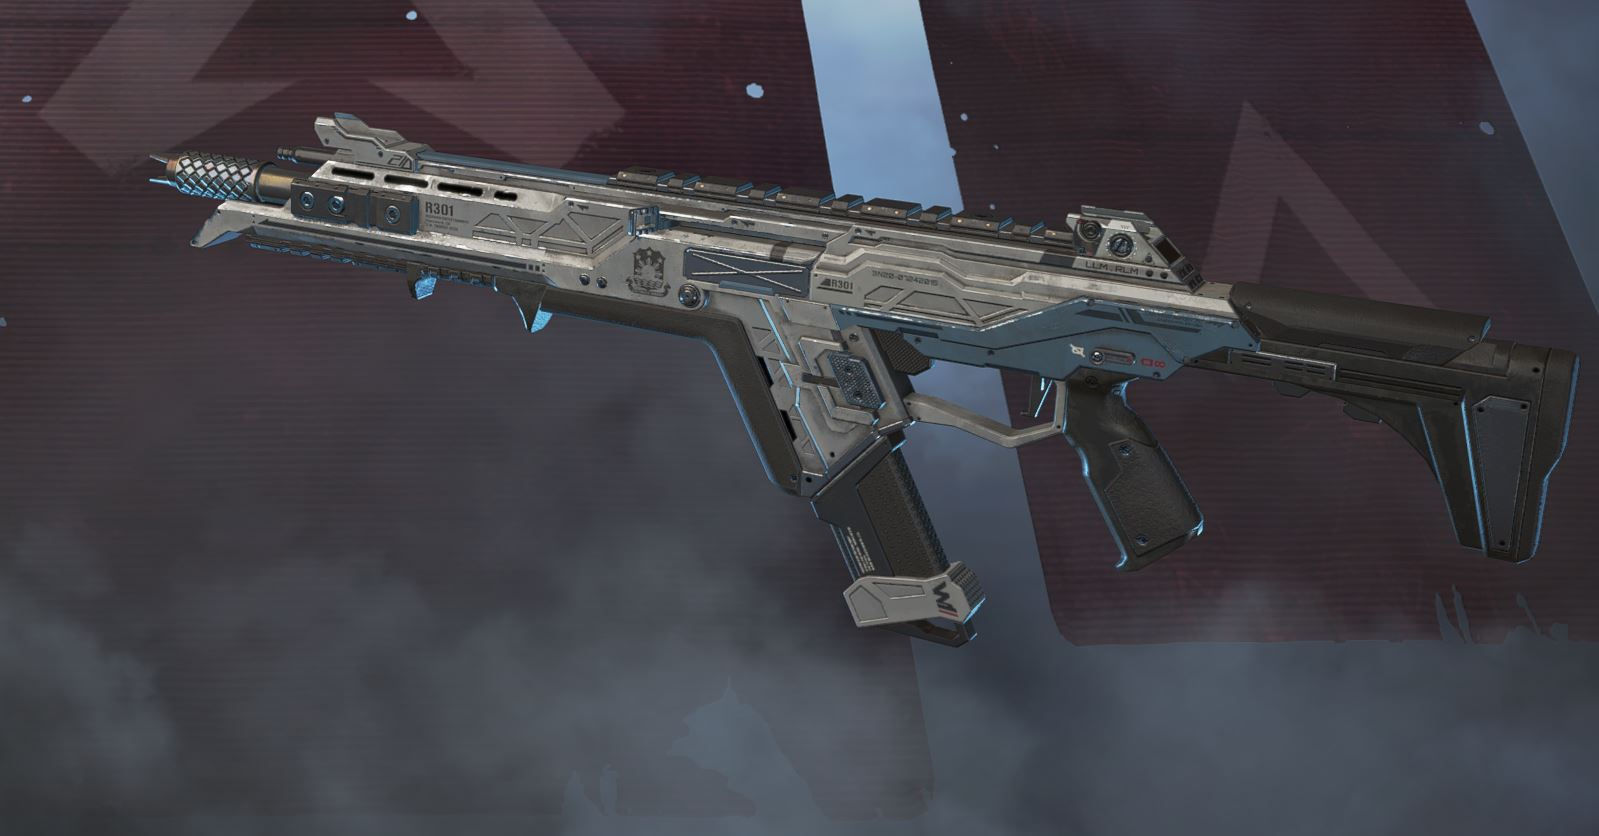
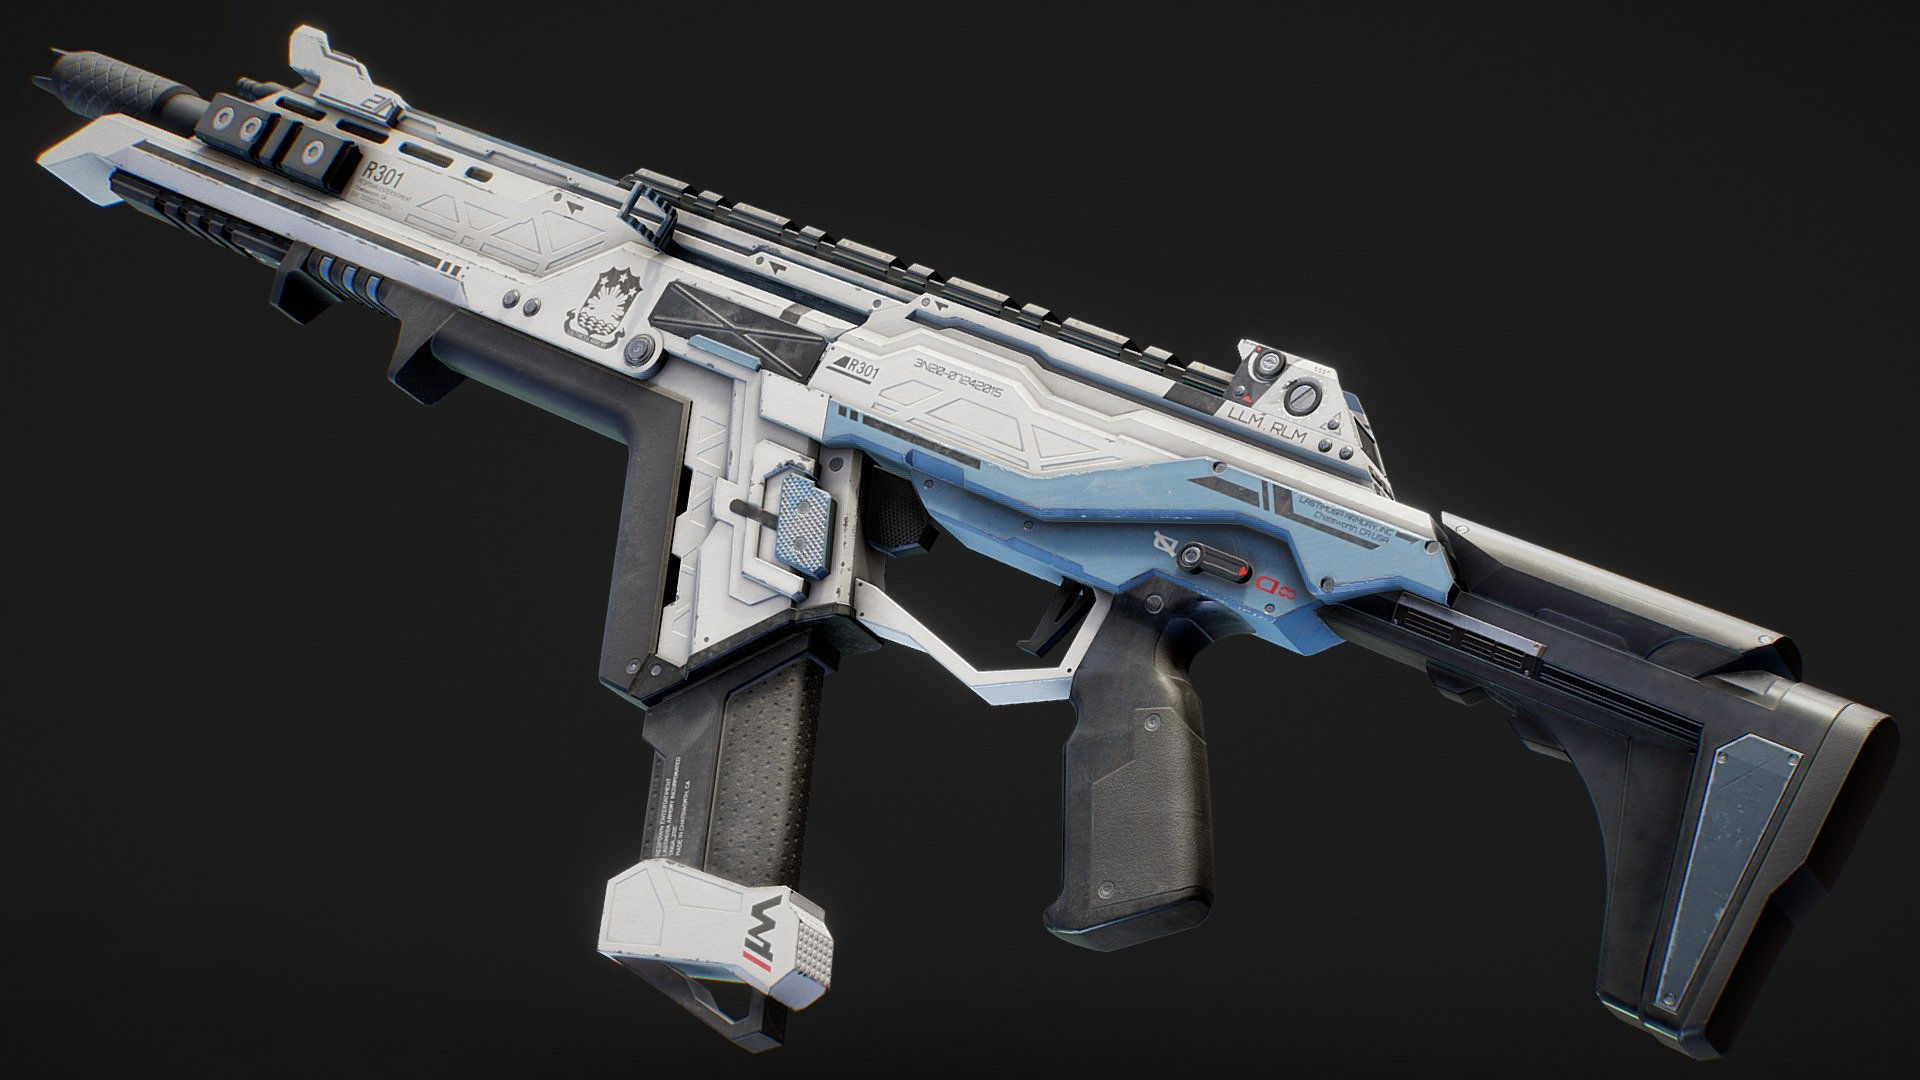
3D printing is a rapidly growing technology that is making it possible to create realistic-looking props and even working firearms. This blog post will explore the process of 3D printing a gun, from designing the model to printing and assembling the final product.
3D printing is a process of creating a three-dimensional object from a digital file. The process starts with a 3D model, which is a computer-aided design (CAD) file that describes the object's shape. The model is then sliced into thin layers, and a 3D printer builds the object by depositing material layer by layer until the object is complete.
3D printing is a versatile technology that can be used to create a wide variety of objects, including toys, gadgets, and even medical devices. However, 3D printing is also a relatively new technology, and there are still some limitations to what can be created. For example, 3D printed objects are often not as strong as objects made from traditional manufacturing methods.
Despite these limitations, 3D printing is a promising technology with a wide range of potential applications. As the technology continues to develop, it is likely that we will see even more innovative and groundbreaking uses for 3D printing in the future.
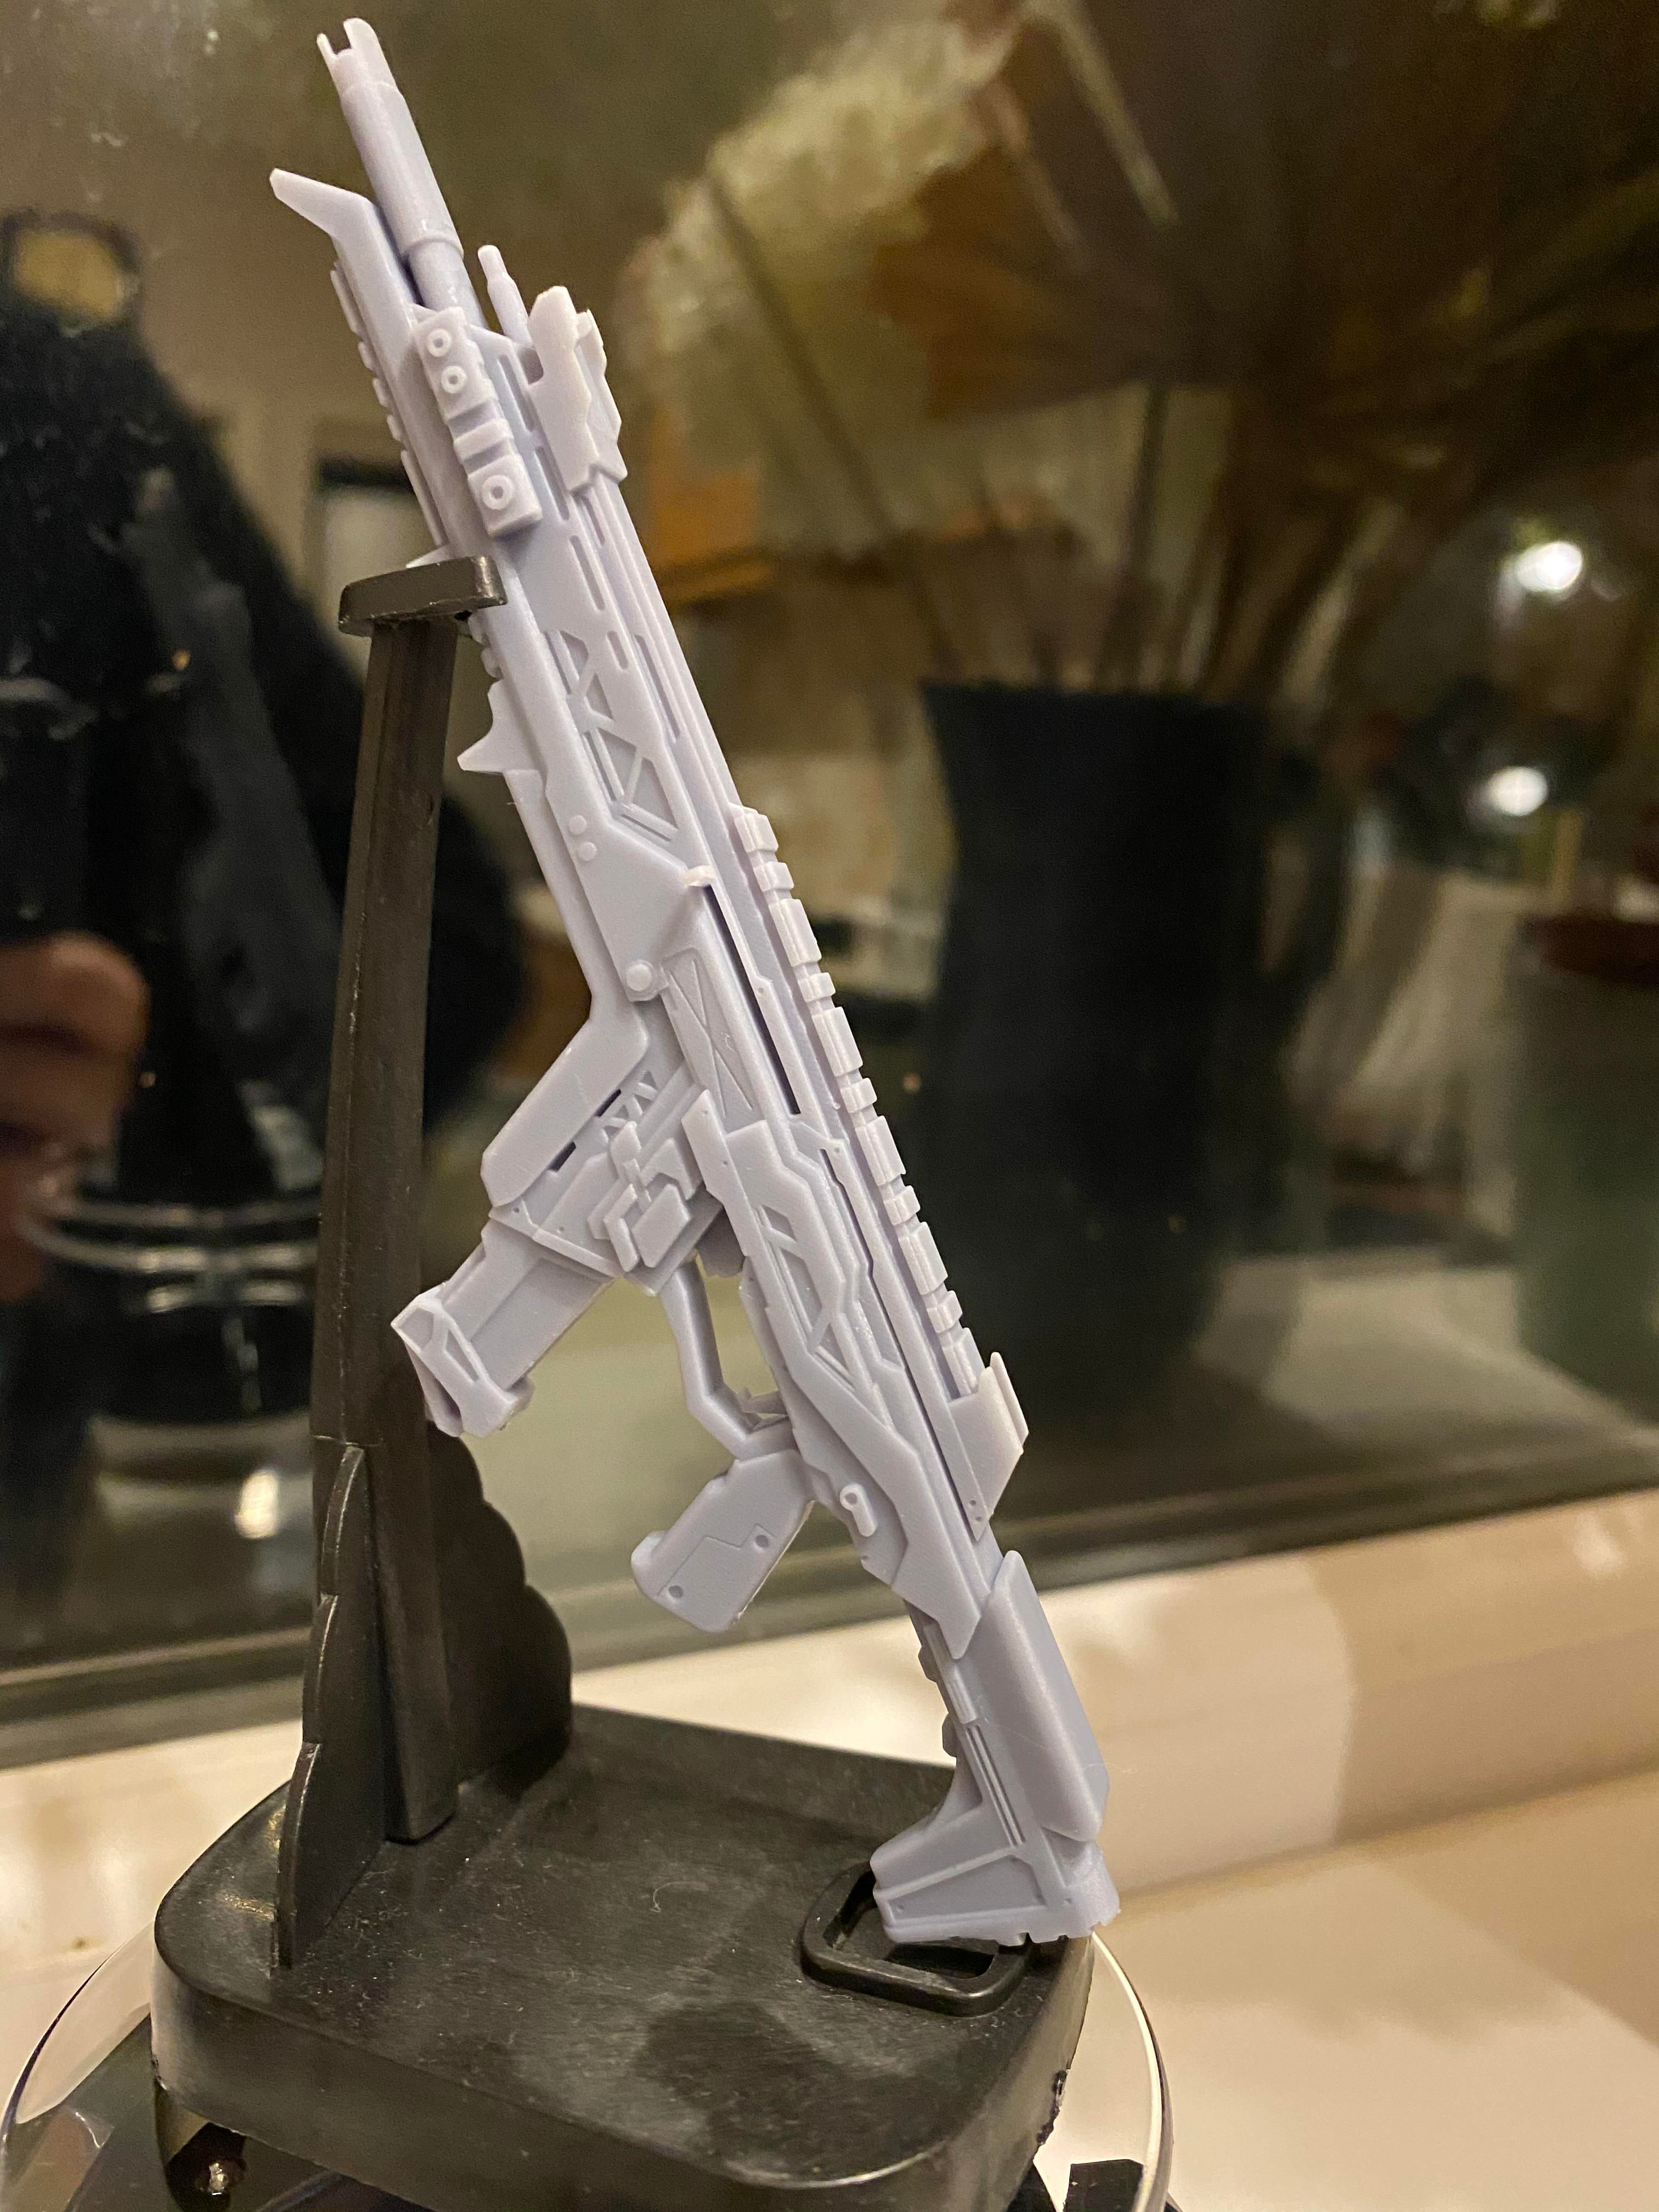
3D printing a gun is a complex process that requires a high level of technical expertise. However, it is possible to 3D print a gun with the right tools and materials.
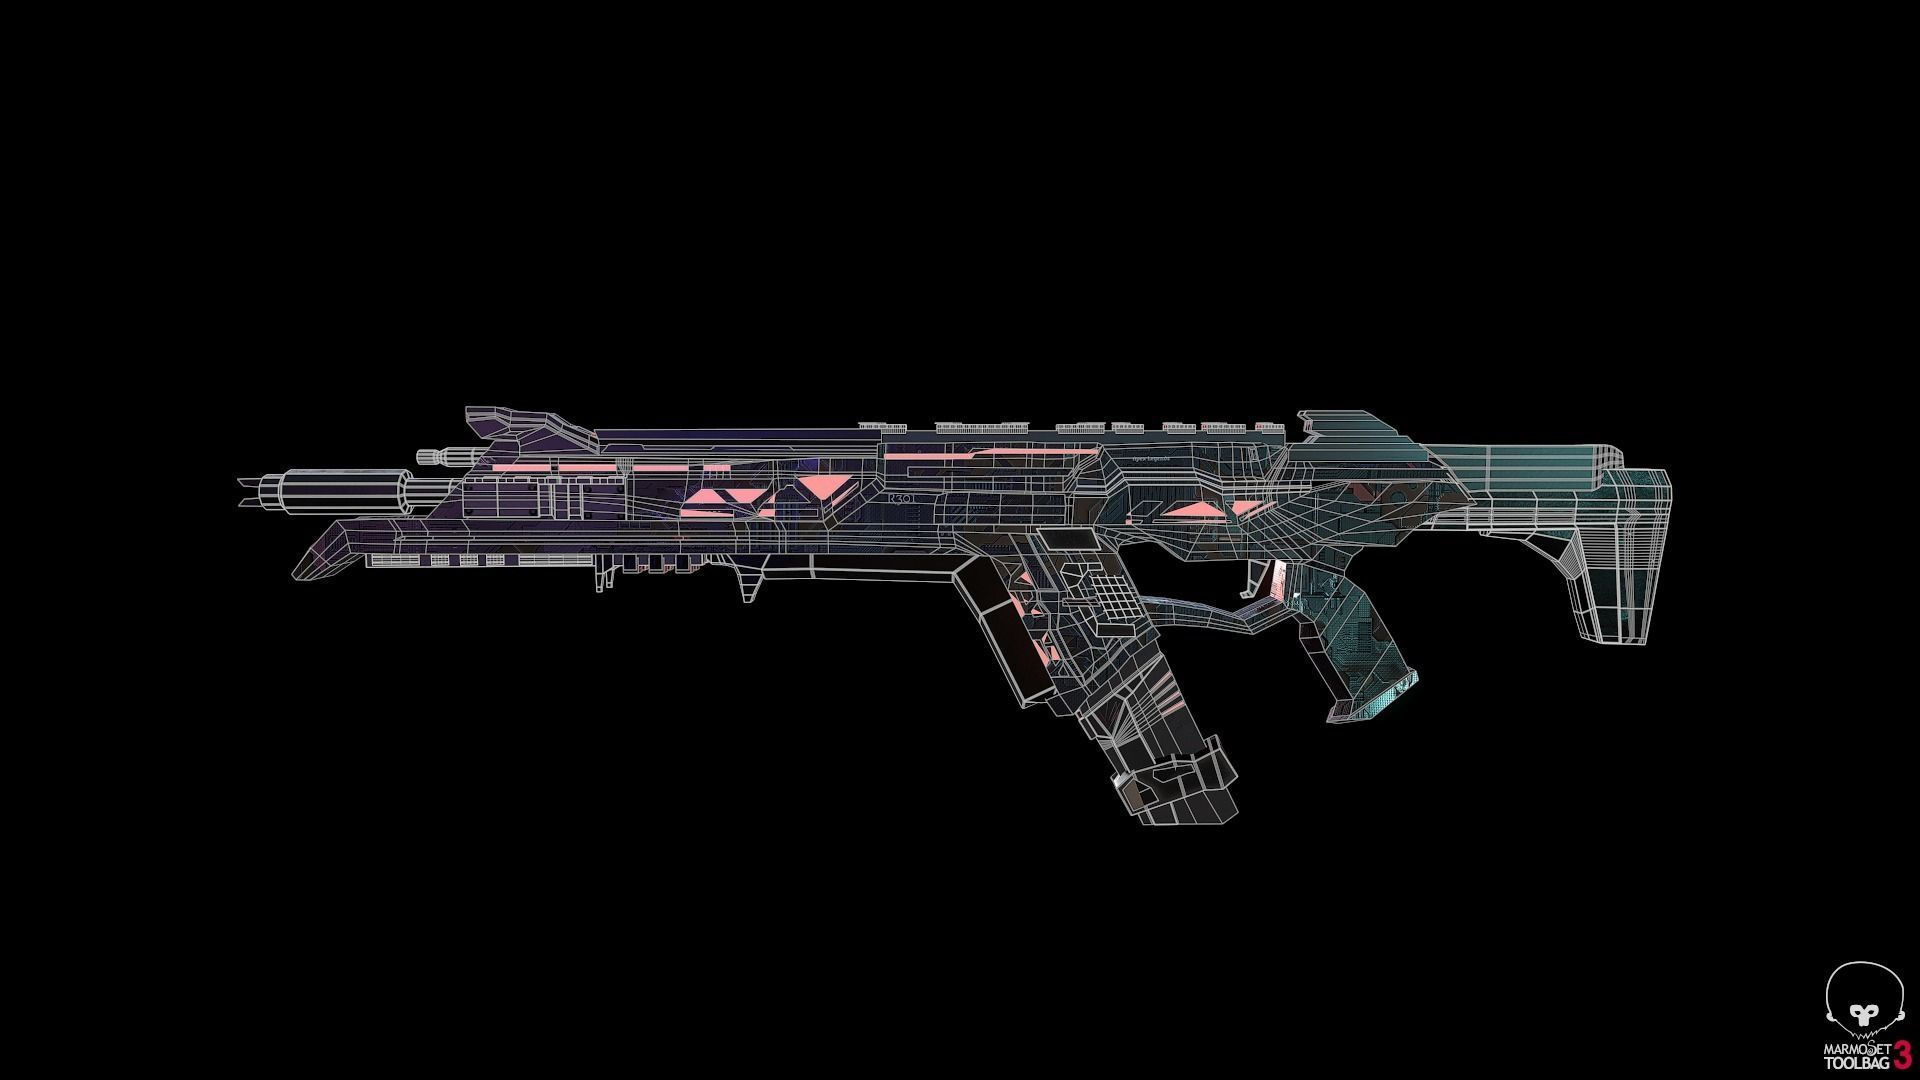
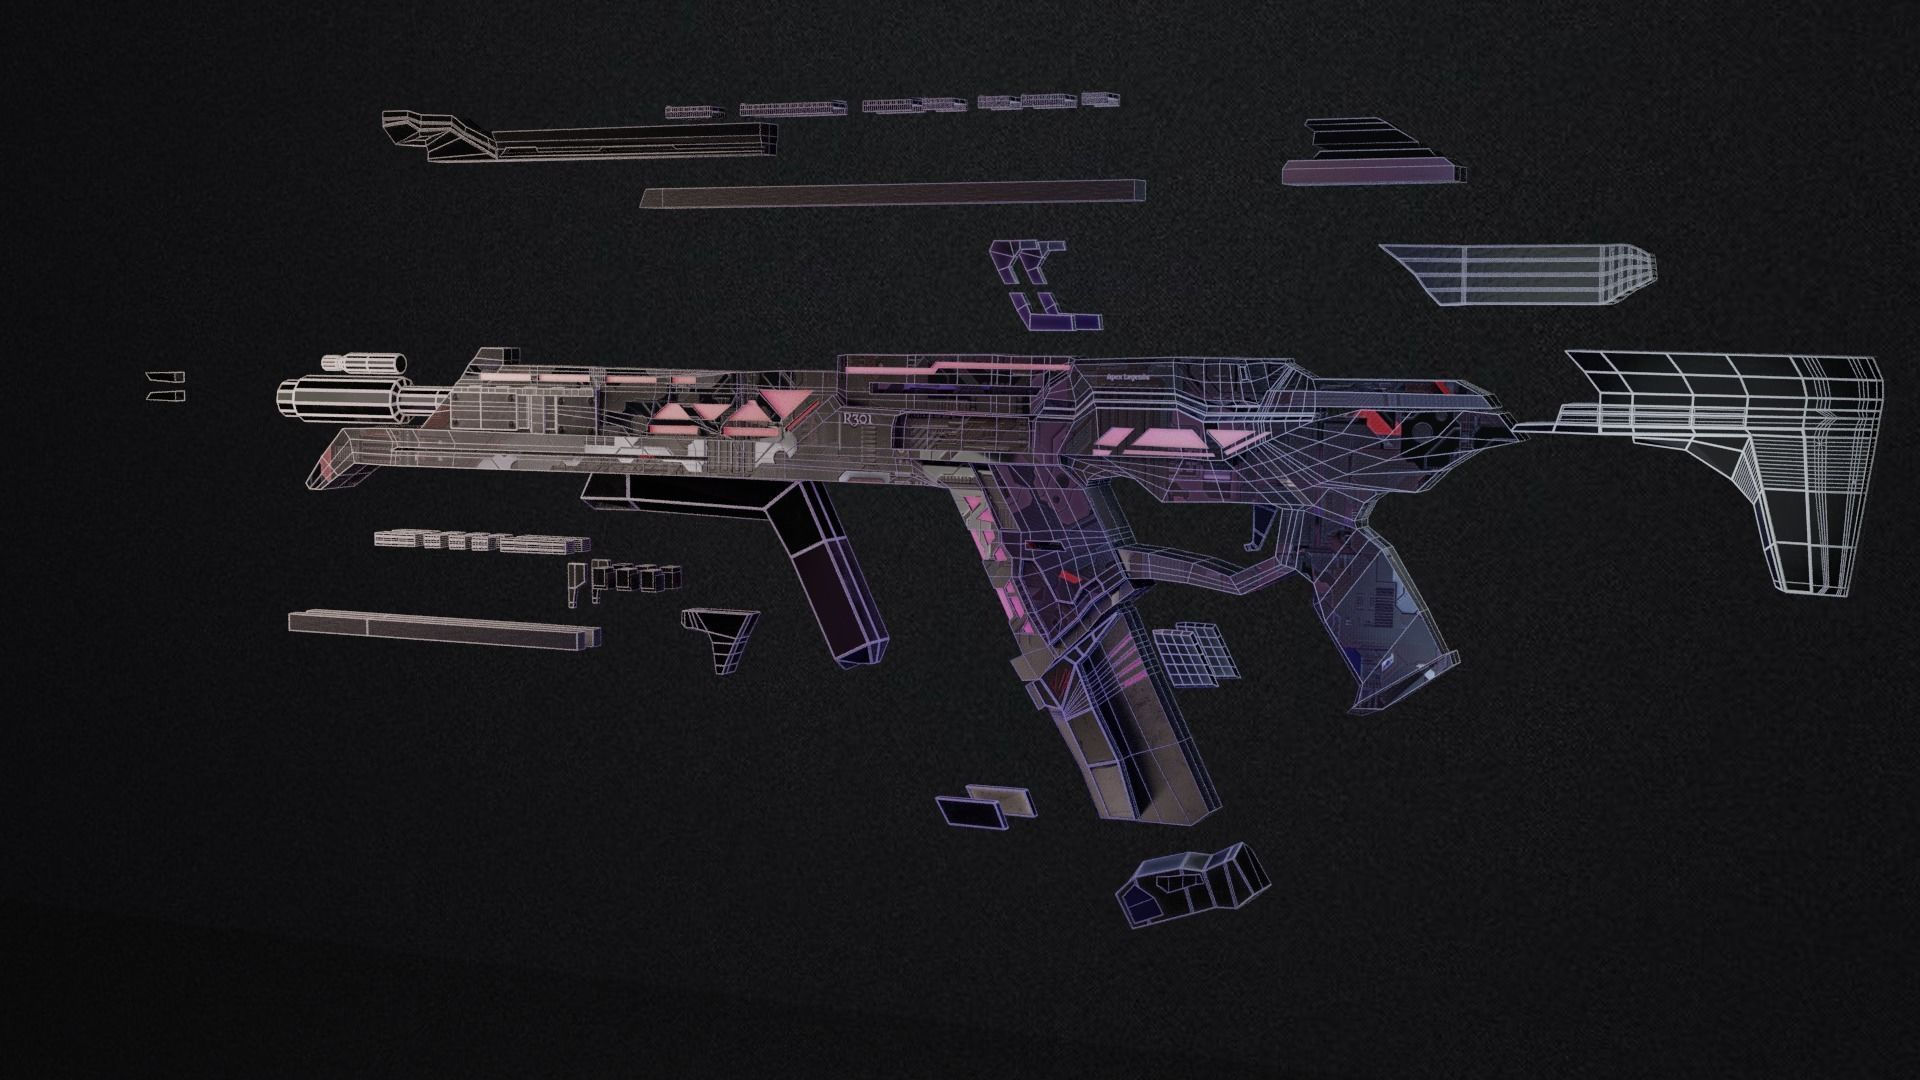
The first step is to design the 3D model of the gun. This can be done using a CAD program. The model must be accurate and detailed, as any errors will be reflected in the final product.
Once the model is complete, it must be sliced into thin layers. This can be done using a slicing software program. The slicing software will generate a set of instructions for the 3D printer, which will tell the printer how to build the object.
The next step is to load the 3D printer with the appropriate material. The most common material used for 3D printing guns is PLA, which is a type of plastic. However, other materials, such as metal, can also be used.
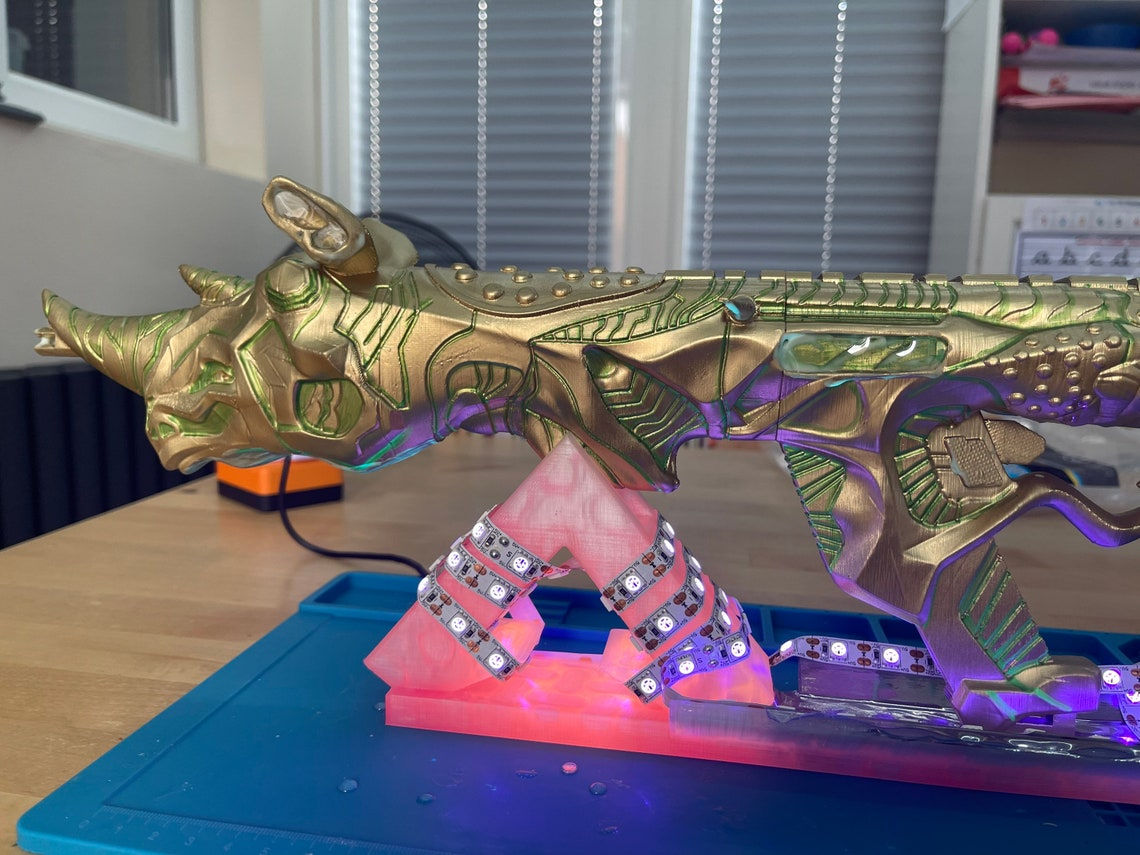
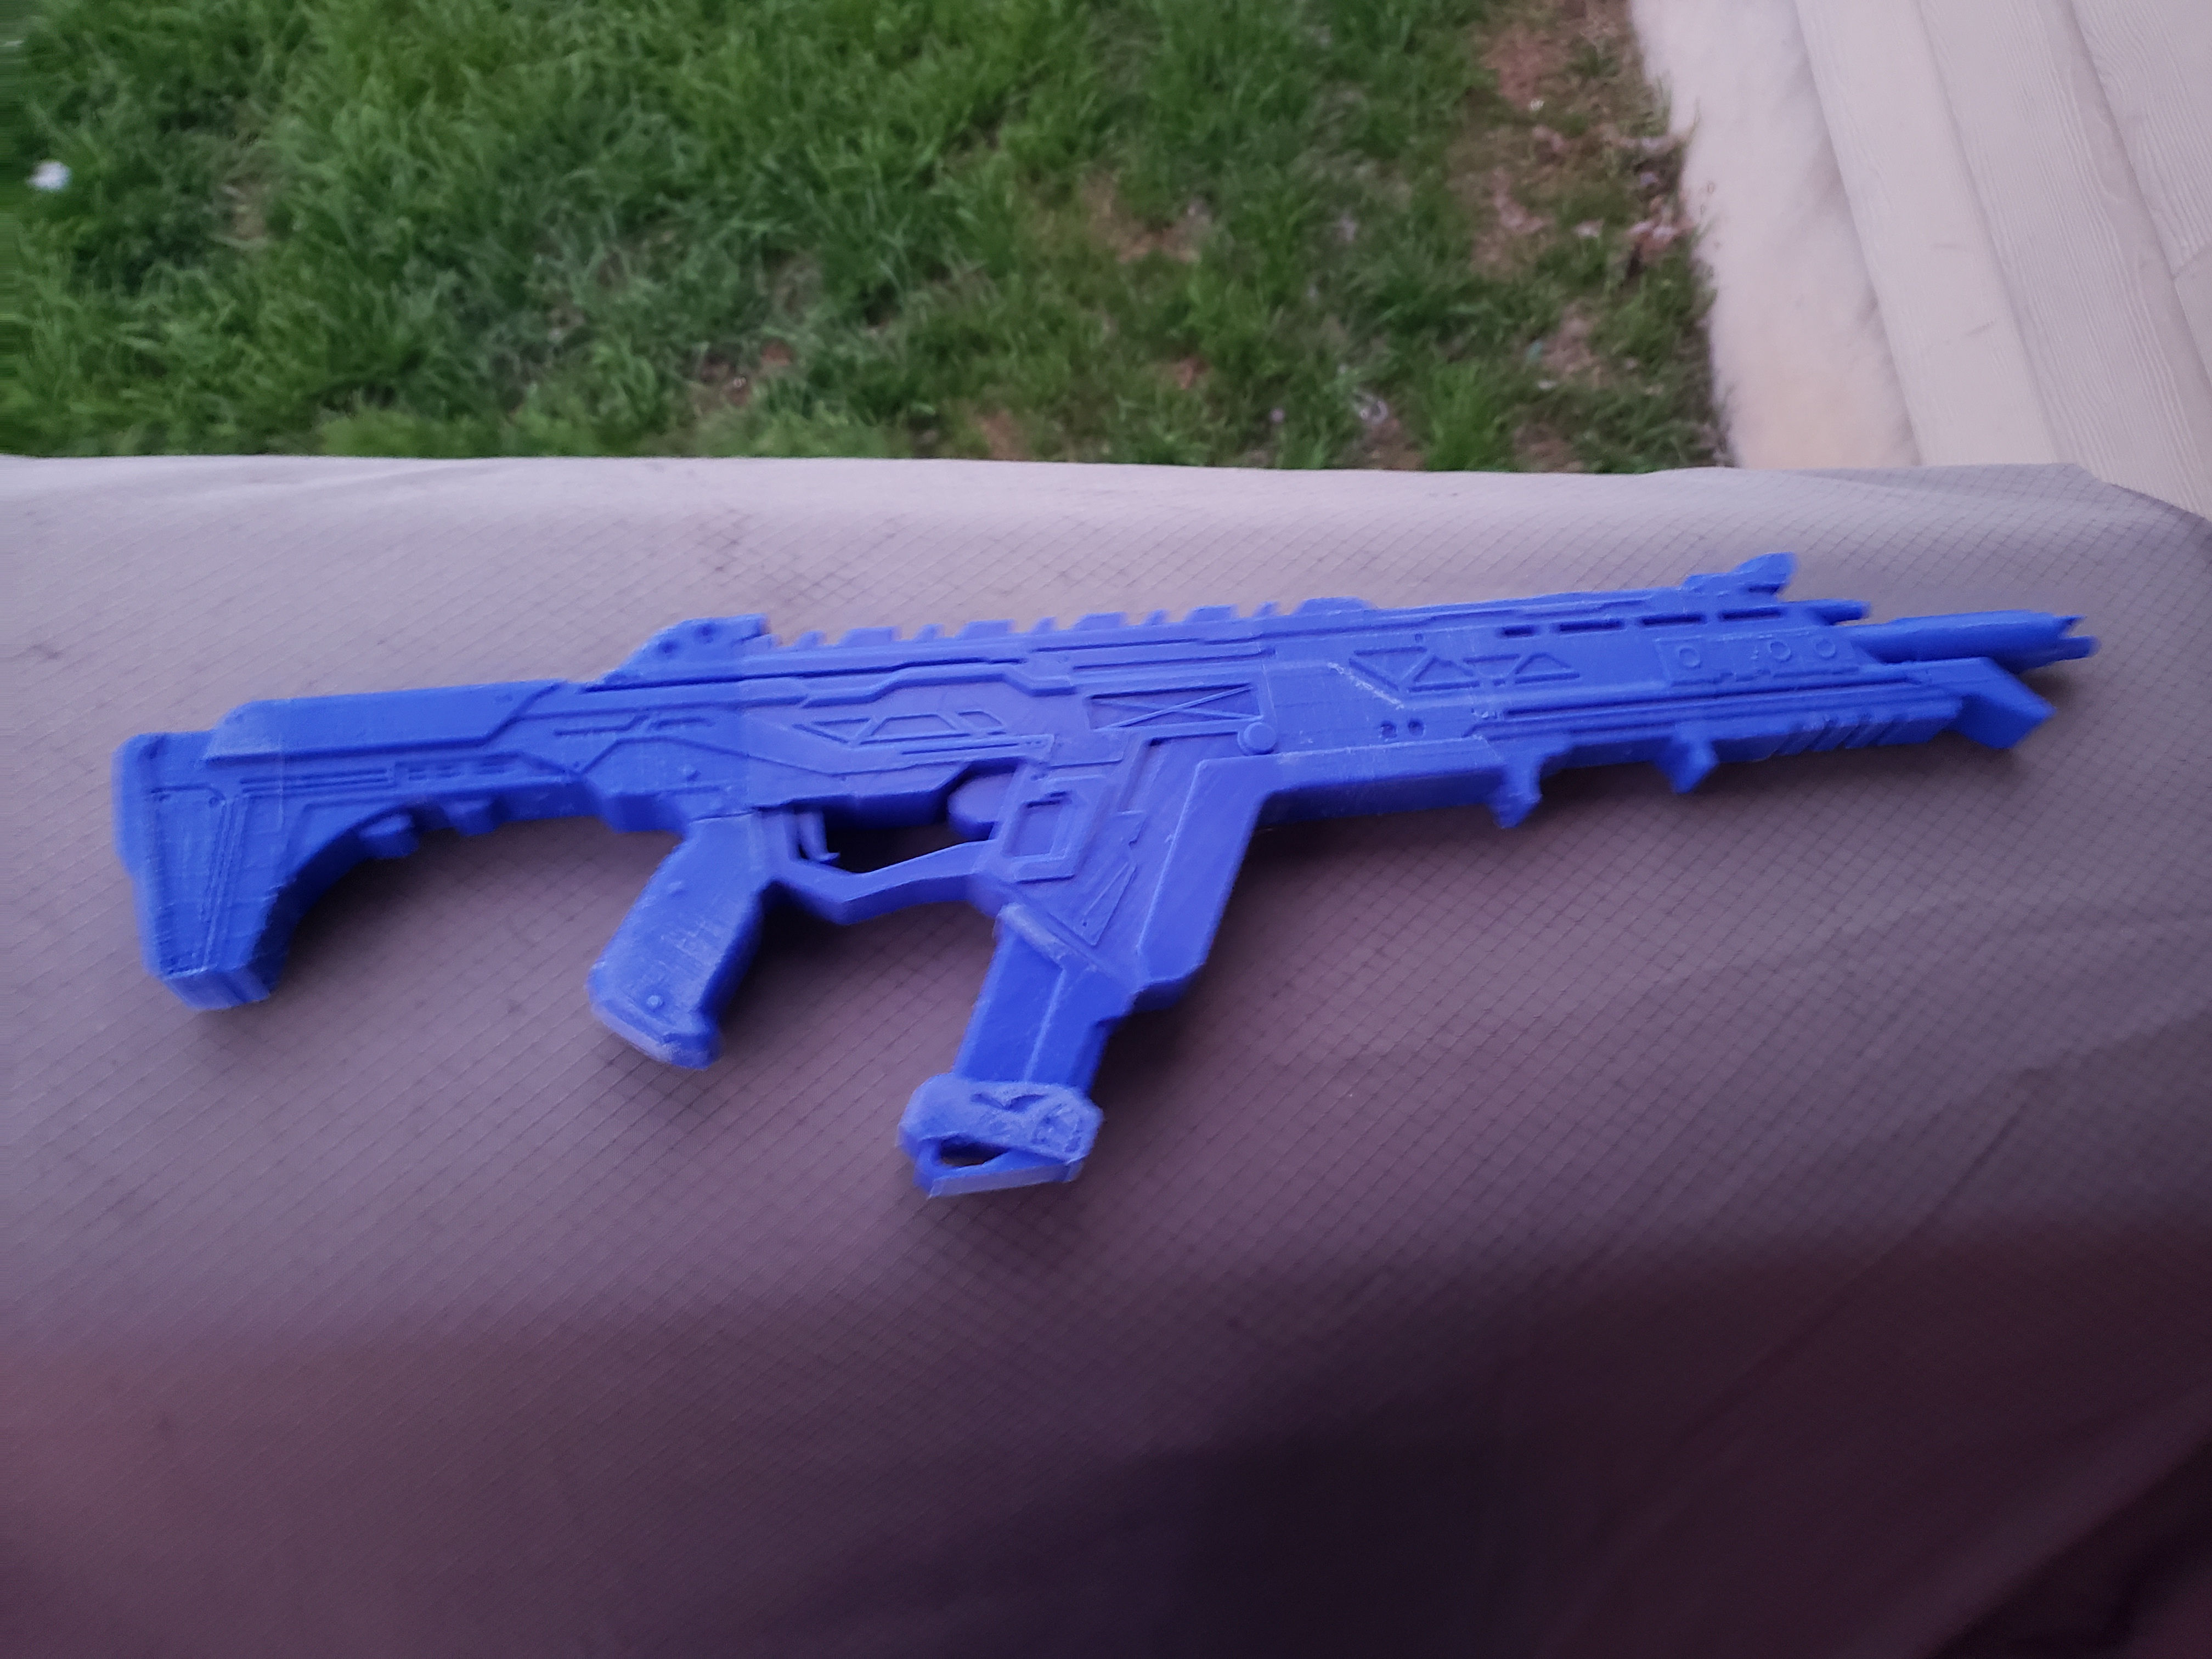
Once the printer is loaded, the printing process can begin. The printer will build the object layer by layer, according to the instructions generated by the slicing software. The printing process can take several hours, depending on the size and complexity of the object.
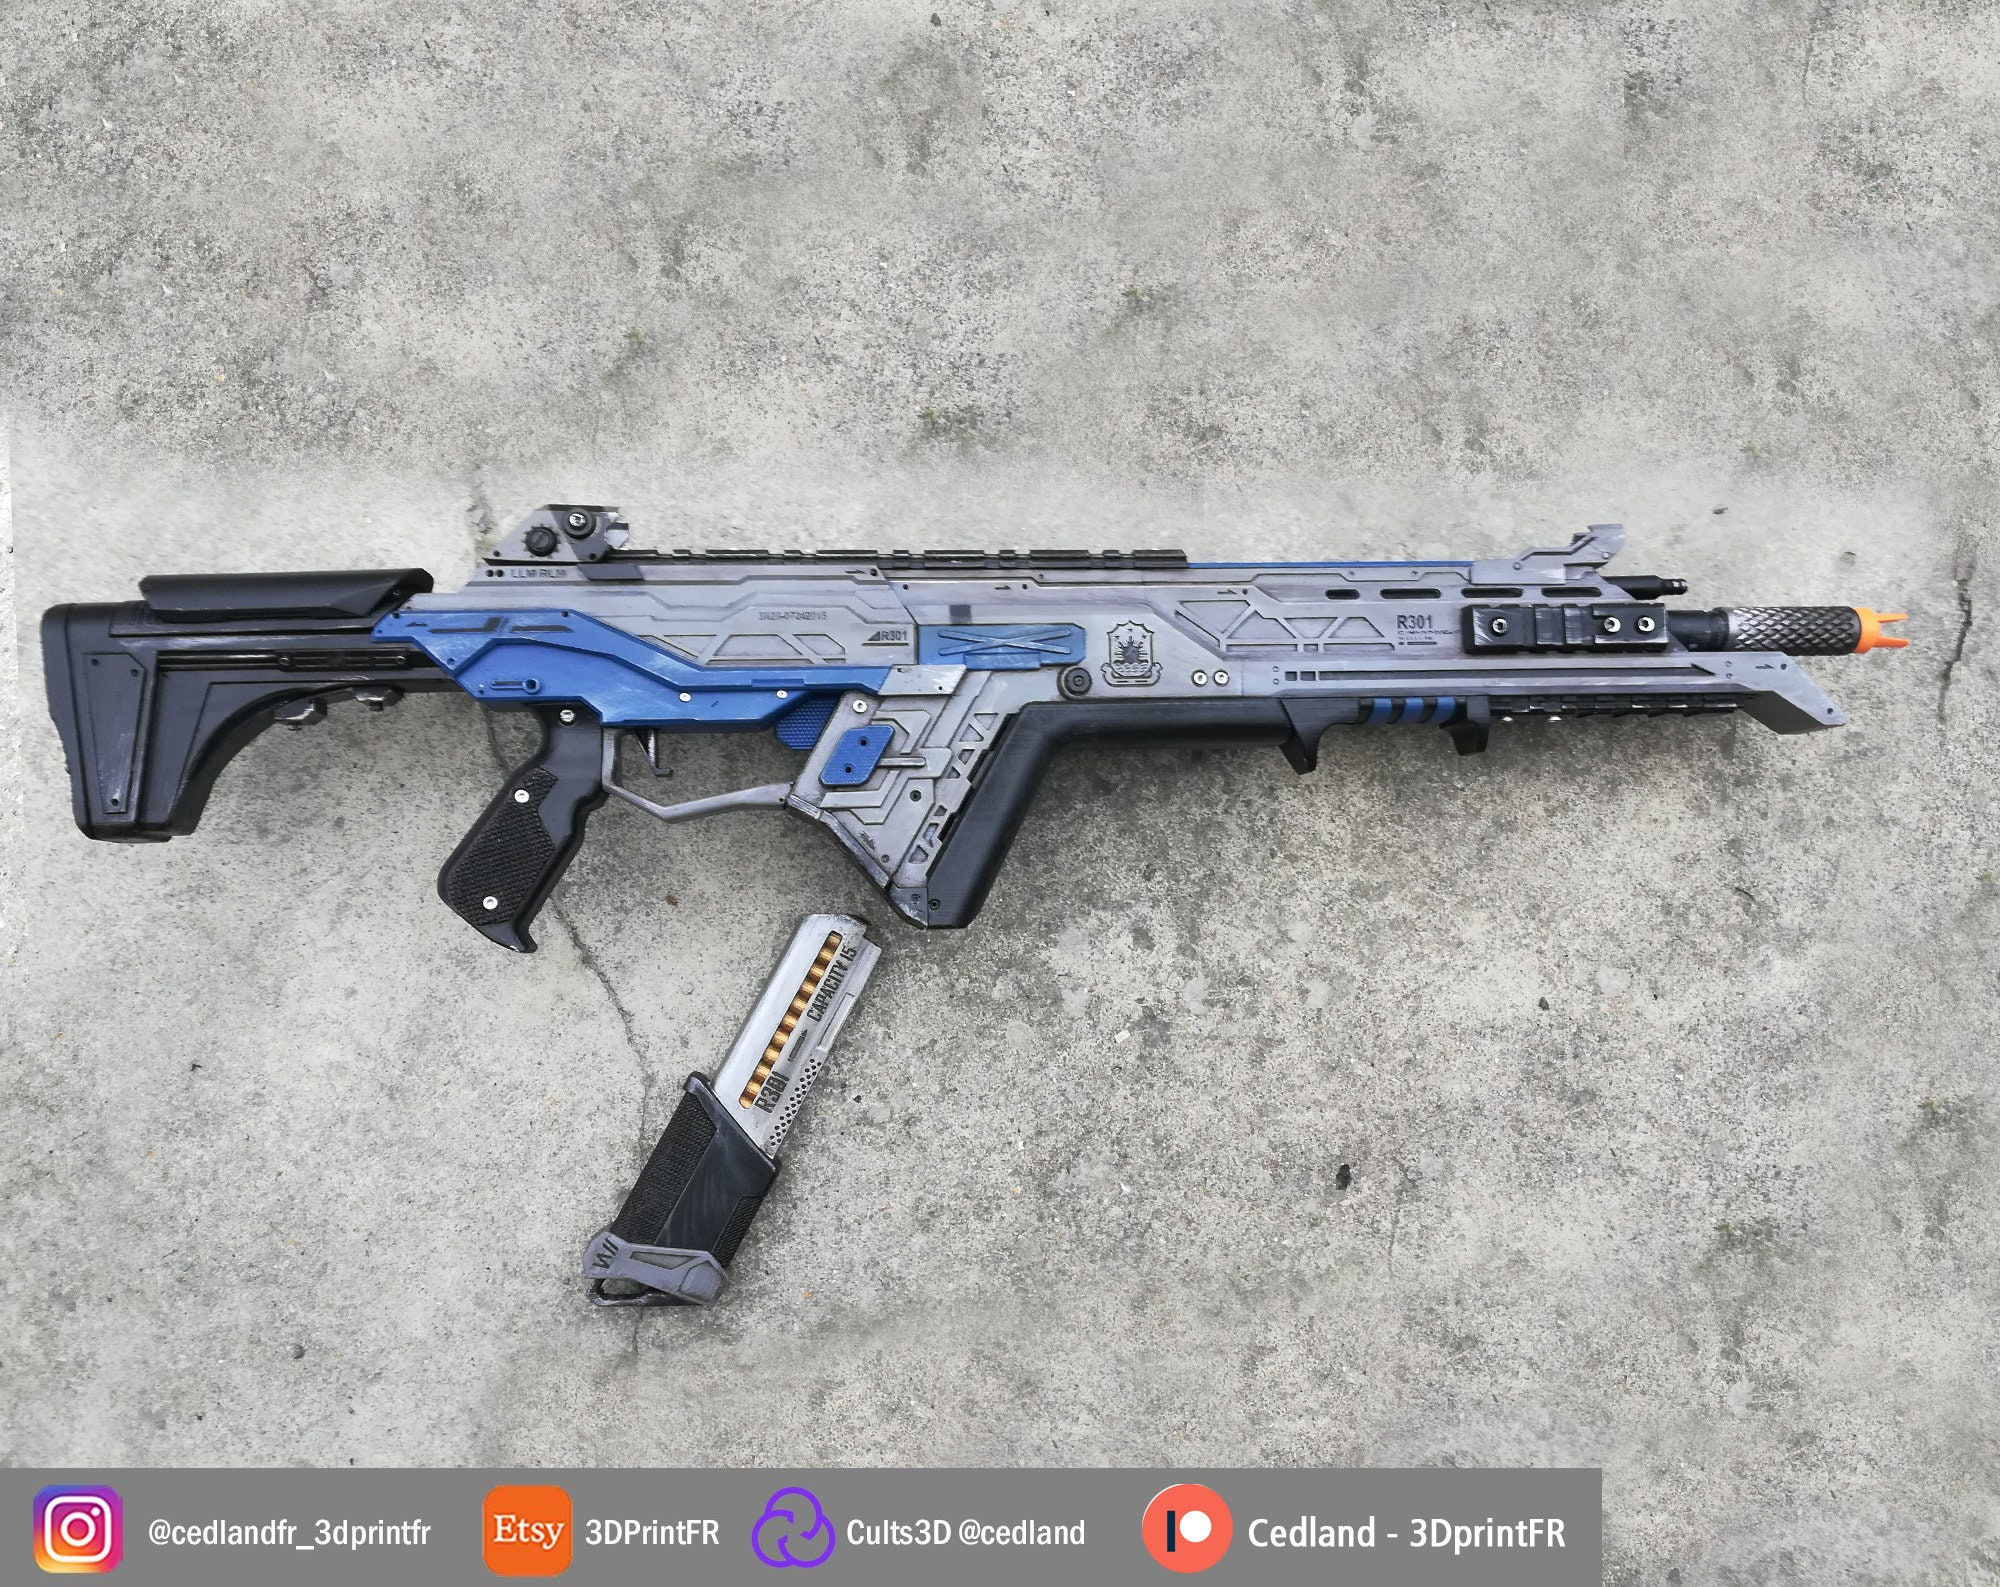
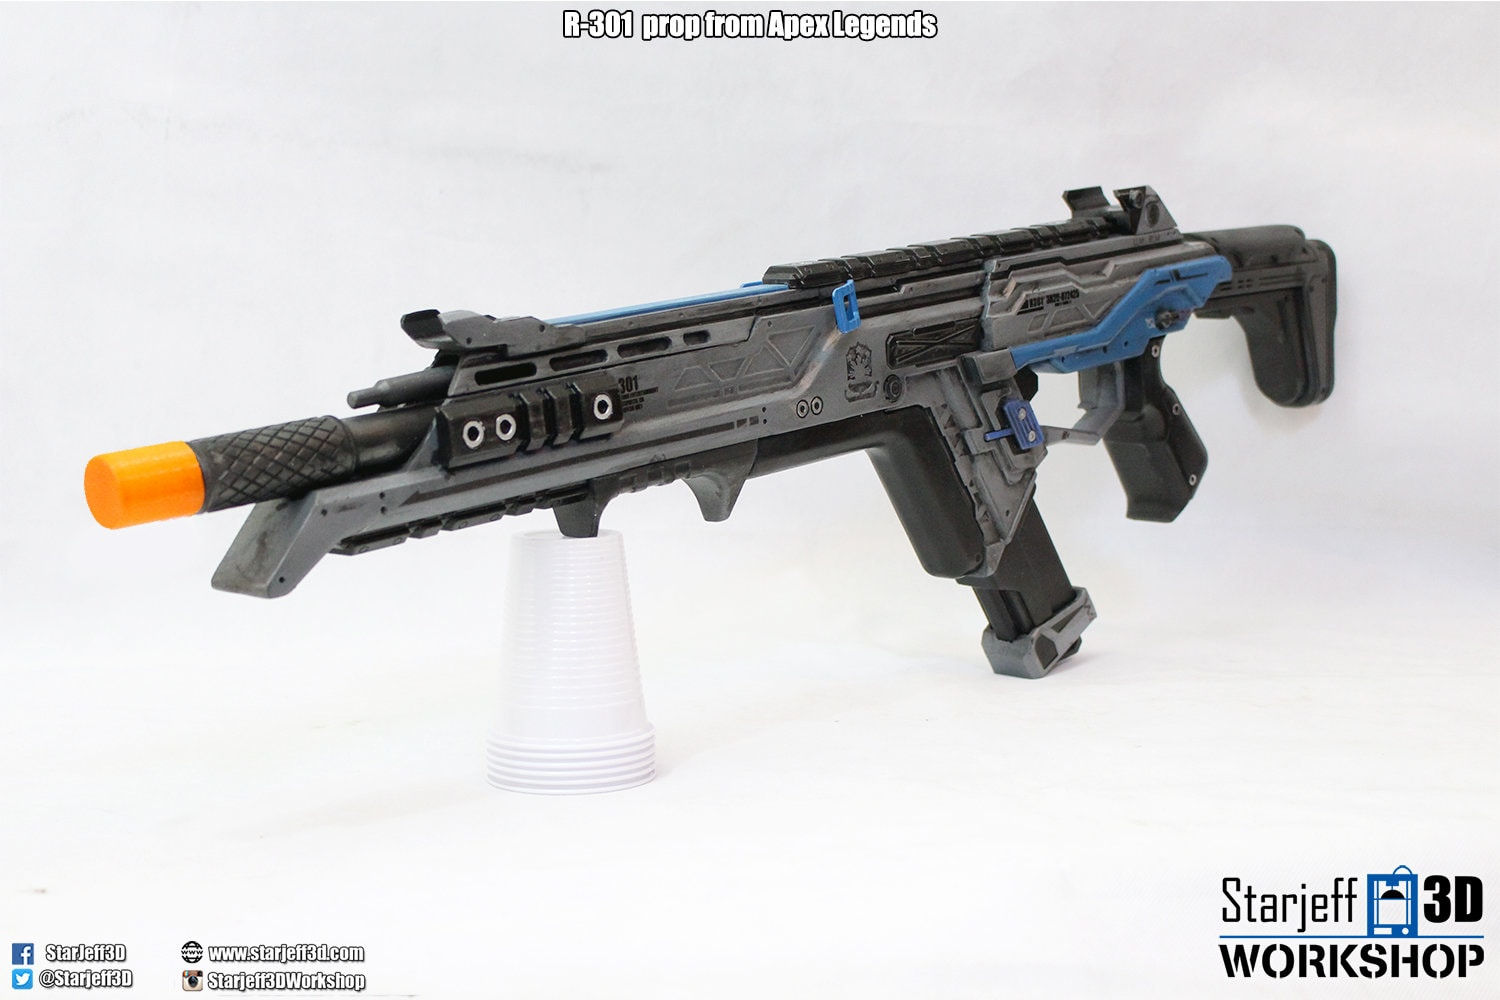
Once the printing process is complete, the final product must be assembled. This may involve attaching different parts of the gun together, such as the barrel, the trigger, and the stock. The assembly process can be complex, and it is important to follow the instructions carefully to ensure that the gun is assembled correctly.
3D printing a gun is a complex and time-consuming process, but it is possible to create a realistic-looking and even working firearm with the right tools and materials. However, it is important to remember that 3D printed guns are not as strong as traditional firearms, and they should be handled with caution.